
Add Tenants
There are three routes to add Tenants to the PMS:
- Import a list of Tenants. This option is ideal for the initial setup of a Location.
- Add a Tenant one by one to the Suite as required. This option is ideal for new Tenants in an established PMS setup.
- Add Prospects one by one as obtained and then convert to a Tenant. This option is ideal when you are tracking new leads via the PMS.
When adding a new Tenant is it possible to include their bank account information (ACH) for deducting their rent directly from their bank account.
Click on the option below you'd like to learn more about.
Import Tenants
A list of Tenants can be imported to the PMS using a CSV (comma separated values) file. Tenants must be imported one Location at a time.
The first line in the file must have the following headers:
- first_name
- last_name
- suite
- rent_amount
The following headers are optional and the data will be imported if present:
- bank_account_name
- bank_routing_number
- bank_account_number
The suite does not have to exist prior to the import. If a name or email address already exists in the PMS that line will be rejected.
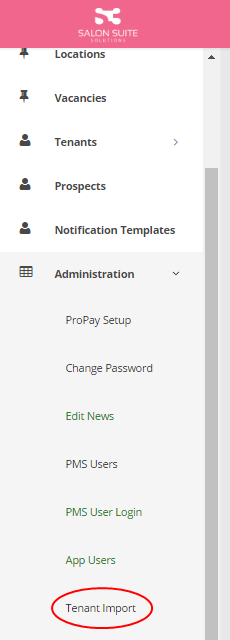
- To begin the Tenant import login to the PMS and click the Administration menu on the left.
- Click the Tenant Import option.
- A list of locations you have access to will be loaded into the Location drop down. Select the Location that should receive these imported Tenants.
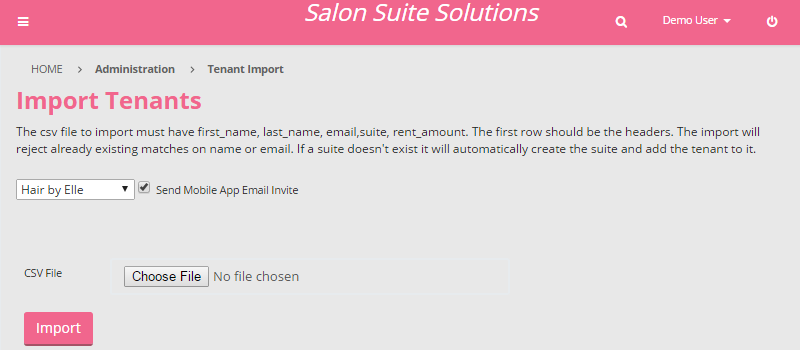
- If you would like the Tenants to receive an e-mail invitation to the mobile App after the import is complete check the Send Mobile App Email Invite box.
- Use the Choose File button to select the prepared CSV file.
- Click the Import button.
The list of Tenants is imported and the PMS confirms the number of records added.
Add Individual Tenant
An individual Tenant can be added to a Suite while viewing the Suite details:
- Click the Locations menu, click the specific Location where the Suite is located, then click the specific Suite.
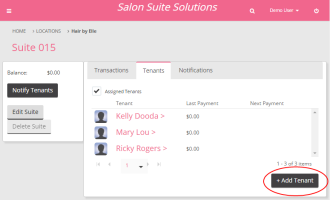
- Use the + Add Tenant button to add a new Tenant.
- Fill in the required information:
- First Name: the legal first name of the Tenant
- Last Name: the legal last name of the Tenant
- Email Address: the email address the Tenant uses to communicate with you
- Phone Number: the contact phone number for the Tenant

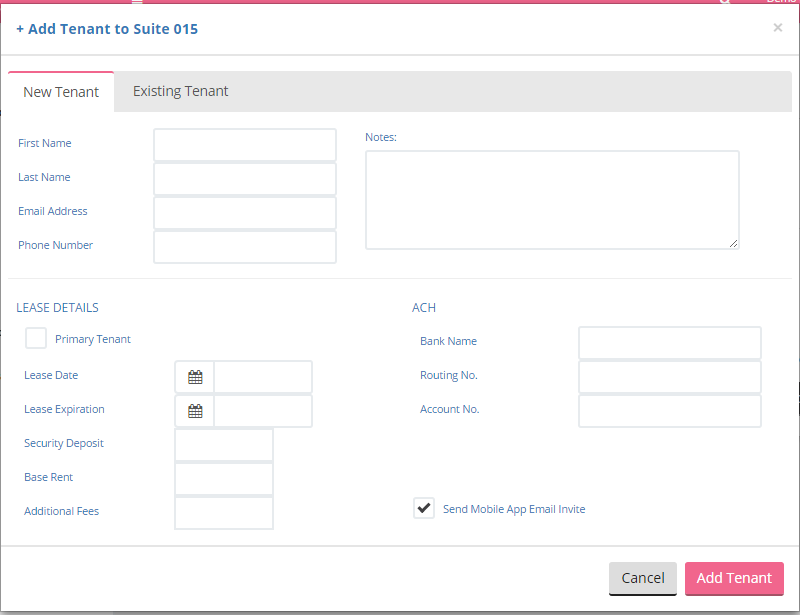
- Optionally, fill in the additional information:
- Notes: any useful information about the Tenant
- Primary Tenant: if this Tenant is the primary tenant, check the box
- Lease Date: the beginning of the legal lease term
- Lease Expiration: the end of the legal lease term
- Security Deposit: how much the Tenant has paid for a security deposit
- Base Rent: the periodic amount the Tenant has agreed to pay for their Suite. This number is used in the Metric calculation.
- Additional Fees: any additional fees the Tenant has agreed to pay with the rental period
- ACH: Bank Name, Routing Number and Account Number to be able to deduct rent and other fees from the Tenant's bank account
- If you would like the Tenant to receive an e-mail invitation to download the app make sure the Send Mobile App Email Invite box is checked.
- Click the Save button to create the new Tenant and list them as active Tenants of the Suite.
Add Prospect and Convert to Tenant
Potential Tenants can be tracked as Prospects within the PMS then converted to Tenants when a lease is signed.
Add Prospect
- Click the Prospects menu on the left to view the Prospects dashboard.
- Click the + Add Prospect button to create a new Prospect.

- Select the Location the prospect is interested in.
- Enter the Prospect details:
- First Name: Prospect's legal first name
- Last Name: Prospect's legal last name
- Email: email address to communicate with the Prospect
- Phone: phone number to communicate with the Prospect

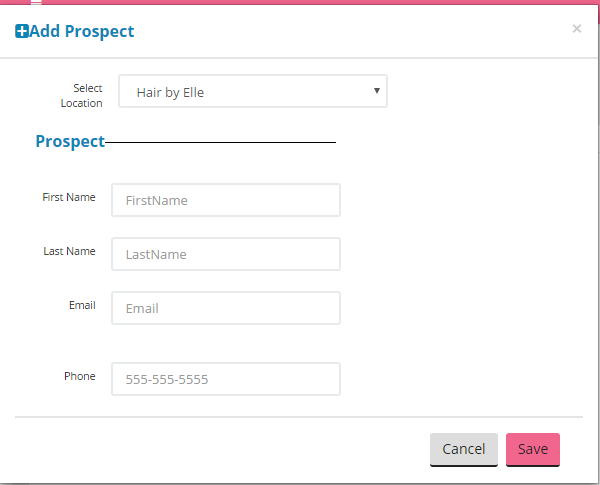
- Click the Save button to create the new Prospect.
Convert to Tenant
Once the lease is signed the Prospect can be converted to a Tenant.
- Click the Prospects menu on the left to view the Prospects dashboard.
- Click the Edit link next to the Prospect you want to convert to a Tenant.
- Select the Suite to attach the new Tenant to.
- Check the Send Mobile App Email Invite box if you want the new Tenant to receive an email notification to download the mobile app.
- Click the Update button to convert the Prospect to a Tenant.
The Prospect is removed from the Prospect dashboard and now appears in the list of Tenants for the selected Location and Suite.
What's Next?
Rent and other fees can be charged to the Tenant and collected via credit card or ACH processing through the S3 PMS. Add individual or recurring transactions to a tenant's profile to accomplish this.